While my greatest passion lies in tile work, I am a general contractor and occasionally take on full remodels. In this case it was a complete double bathroom remodel where the two bathrooms, a master en suite and hallway guest bathroom share a wall.
Both bathrooms were ready for an update, and the clients wanted something a bit more stylish, personalized, and high-end than the average remodel. It was an absolute pleasure working with their creative vision and making it a reality.
All work was completed by me except for plumbing, electrical, and sheetrock which I subcontracted out to local skilled contractors.
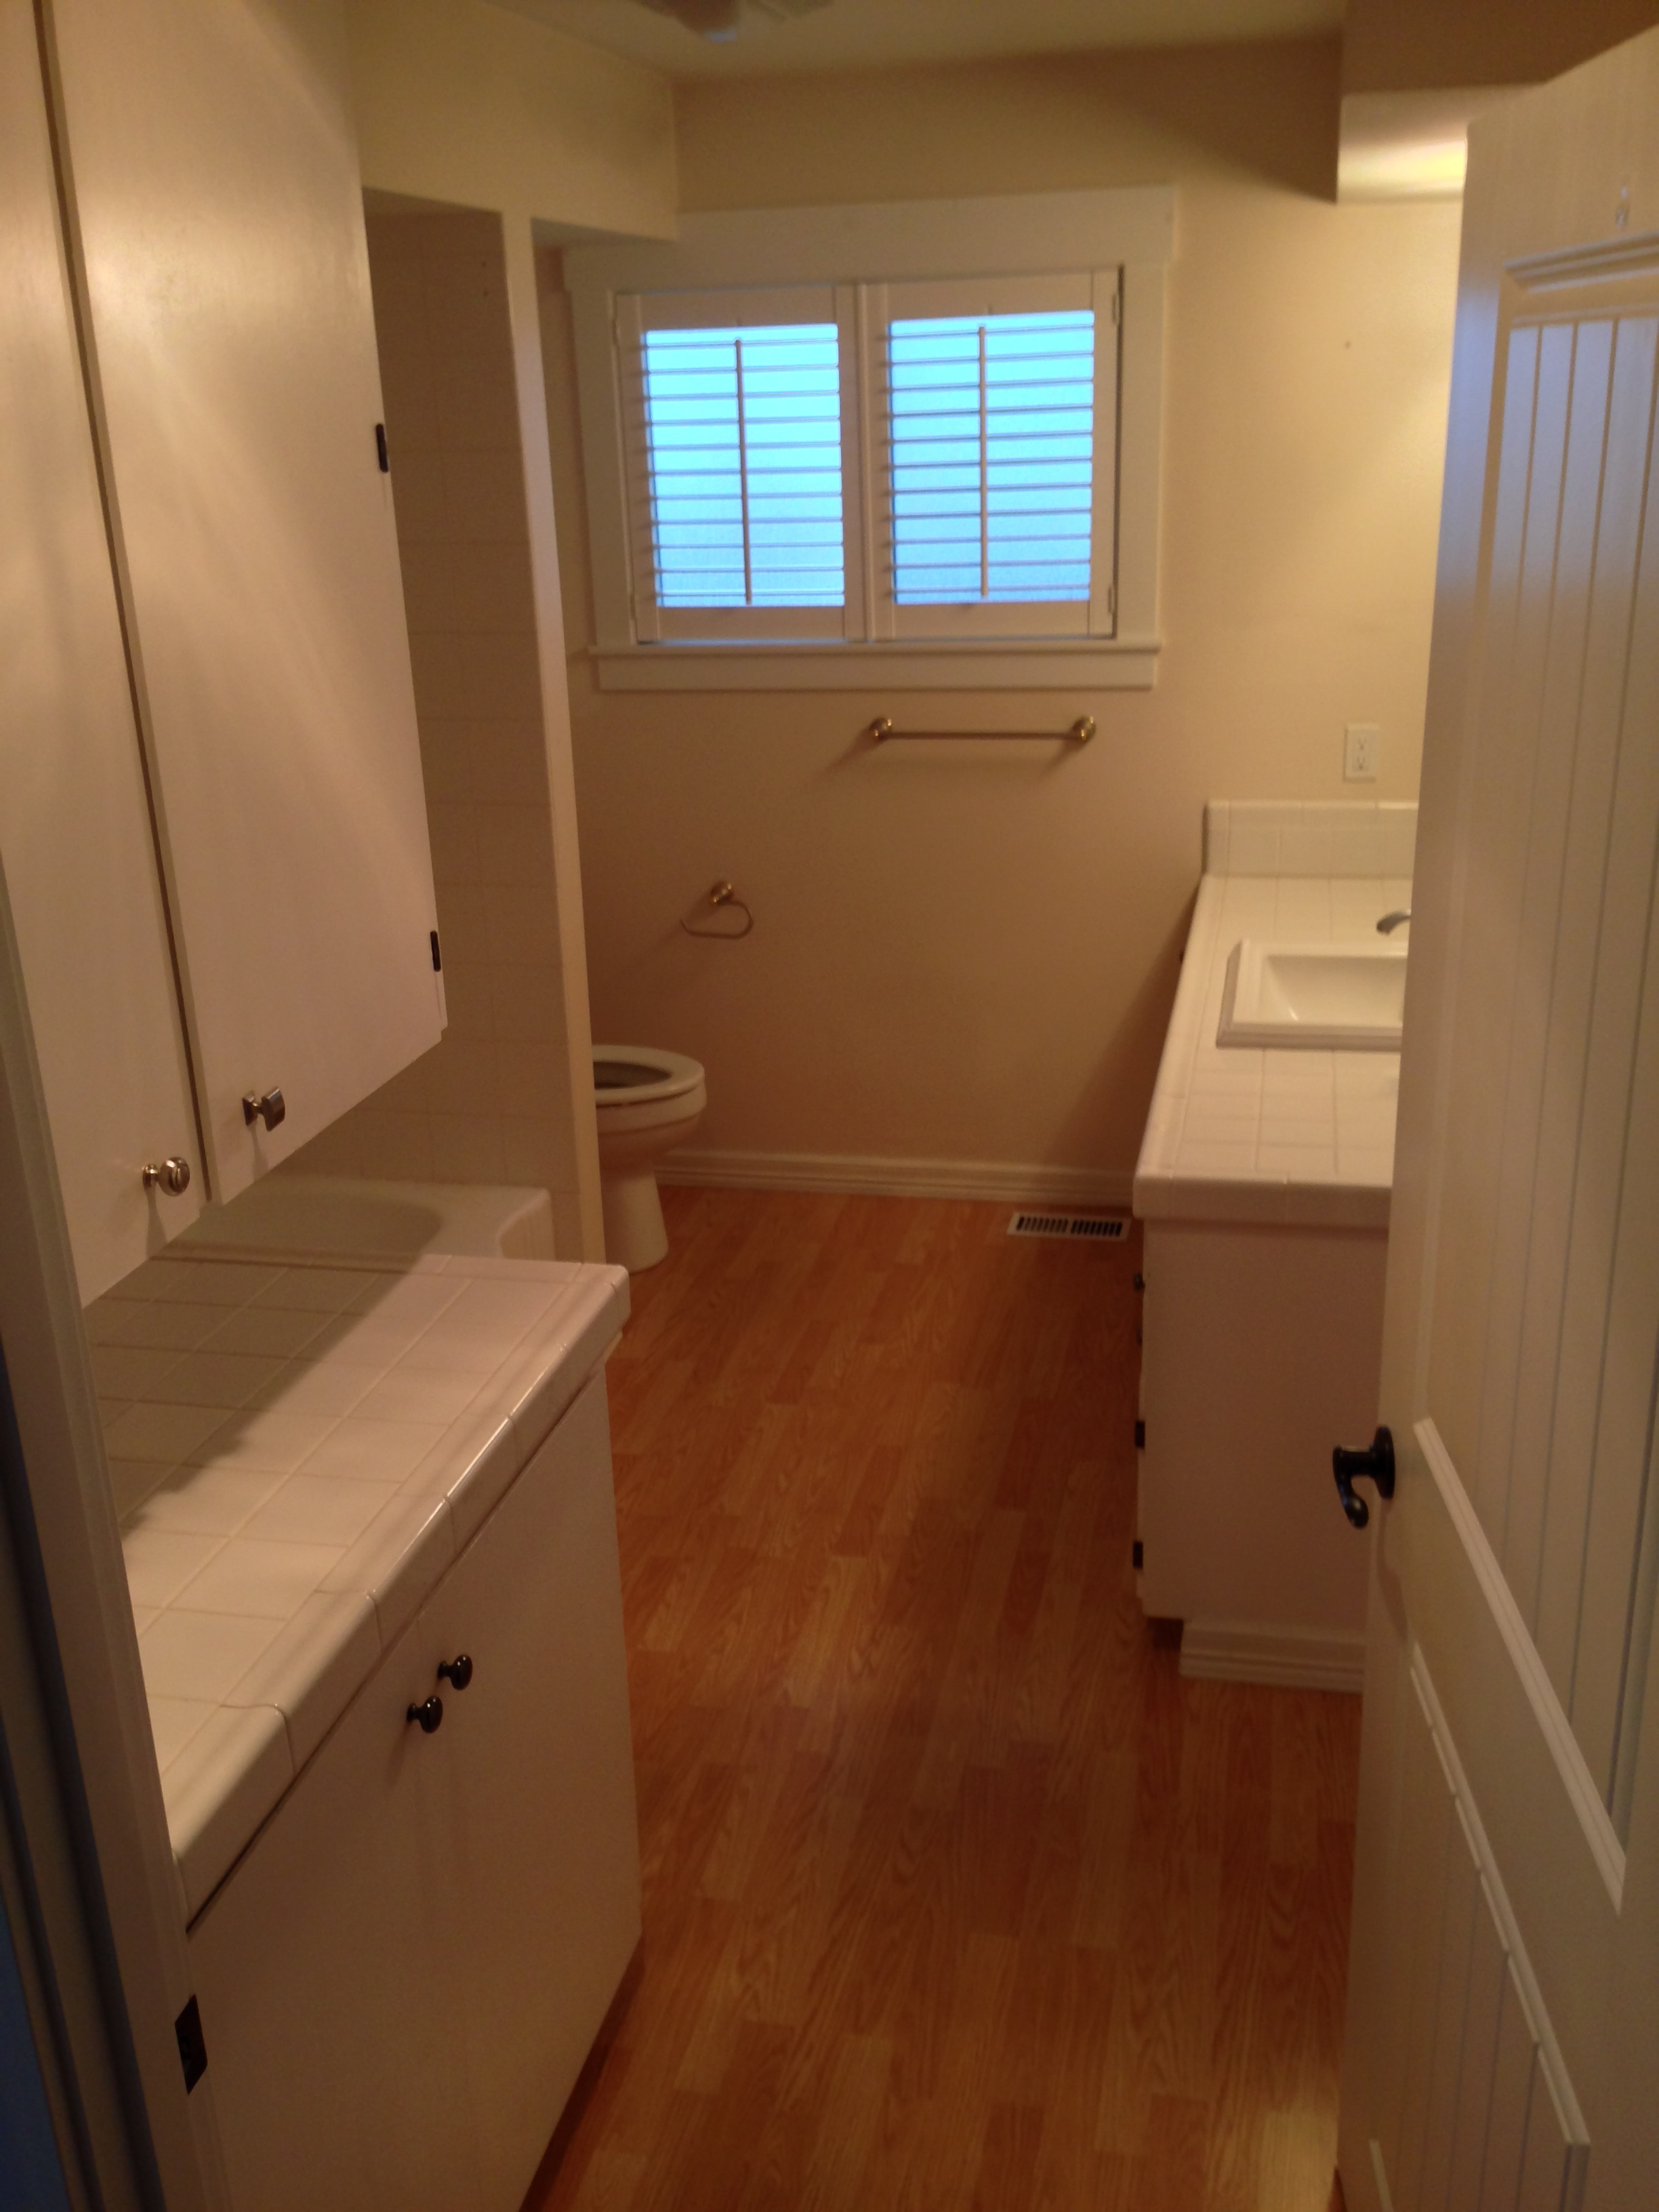
Guest bathroom before remodel. It was dark, cramped and outdated.
Guest bathroom shower before
The master bathroom before remodel. The new layout places the master shower where the existing toilet is and the new toilet where the existing shower is located.
The existing master bathroom shower was poorly built, very small, and in need of an update.
First time I’ve ever seen purple countertops in a bathroom!
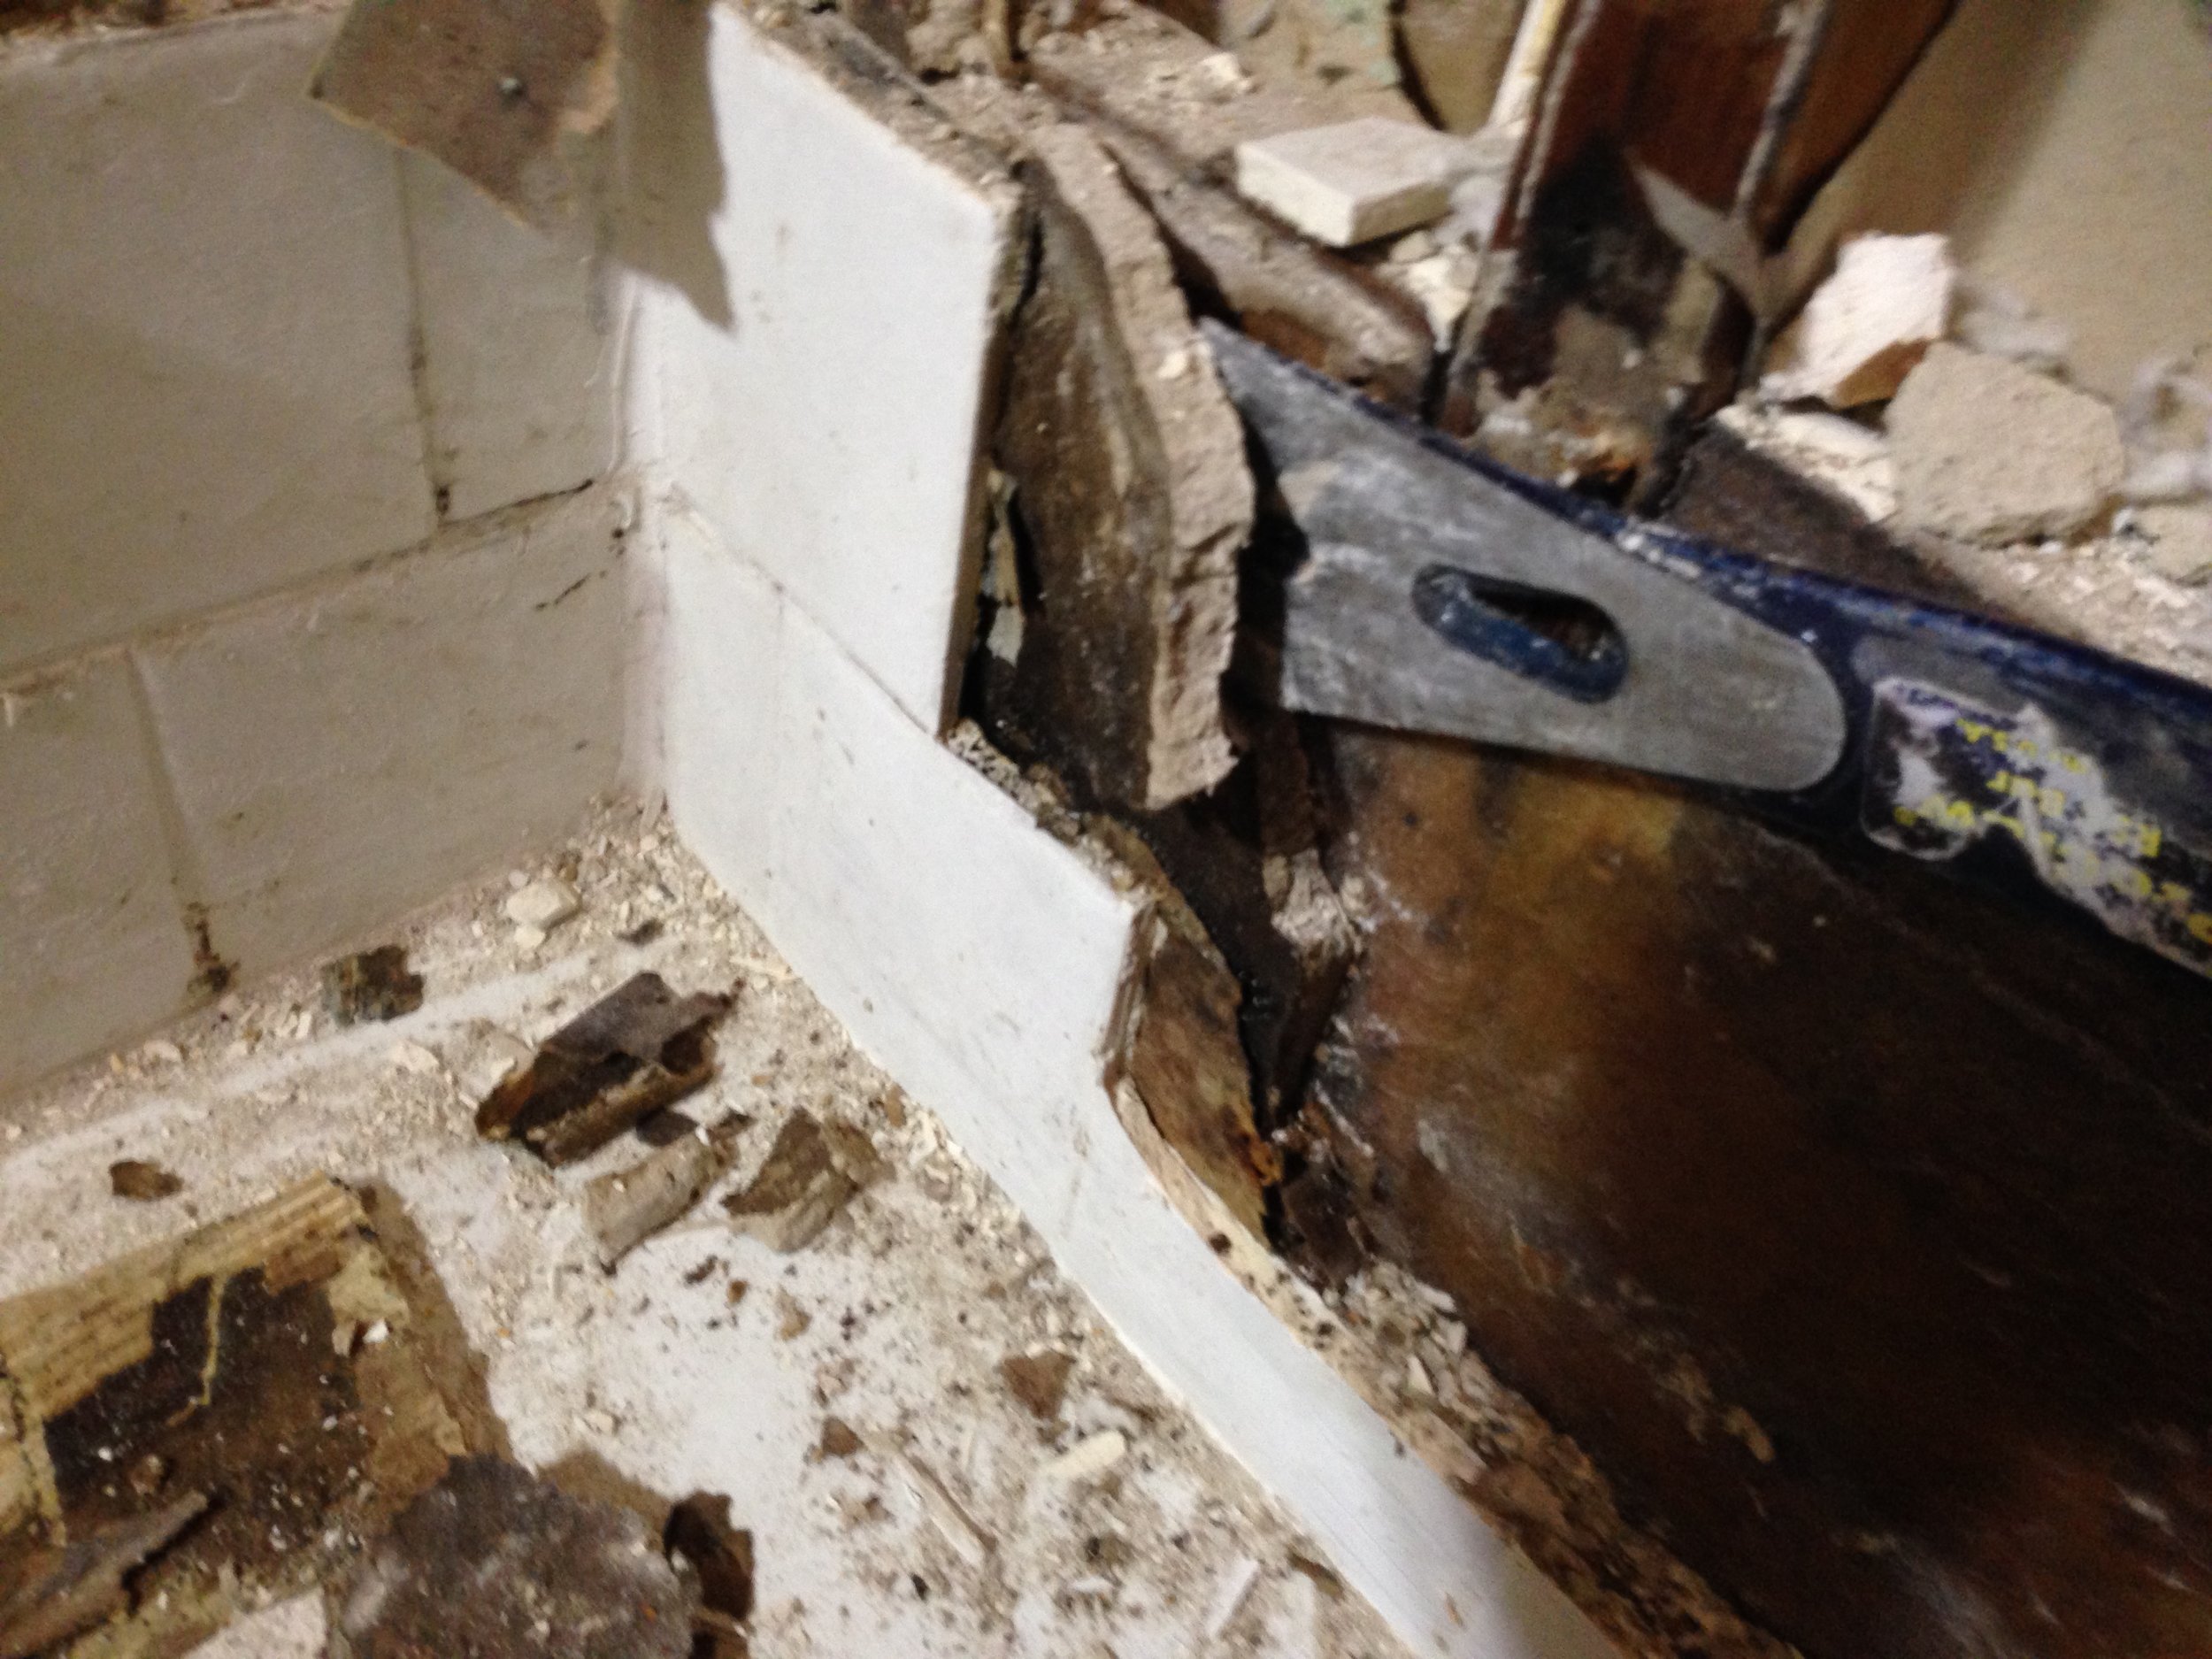
Demolition begins on the master shower. As you can see, the existing tile was installed directly over sheetrock with no waterproofing system at all. Mold was beginning to grow within the walls and behind the sheetrock, which I remedied immediately.
Demolition is complete in the adjacent guest bathroom, and the brand new tub is installed by the plumbers.
I removed four empty soffits in both bathrooms which were only there for aesthetics and had nothing inside. Removing them immediately gave the rooms a more open modernized feel.
Looking into the master bathroom. The new shower will be on the far wall.
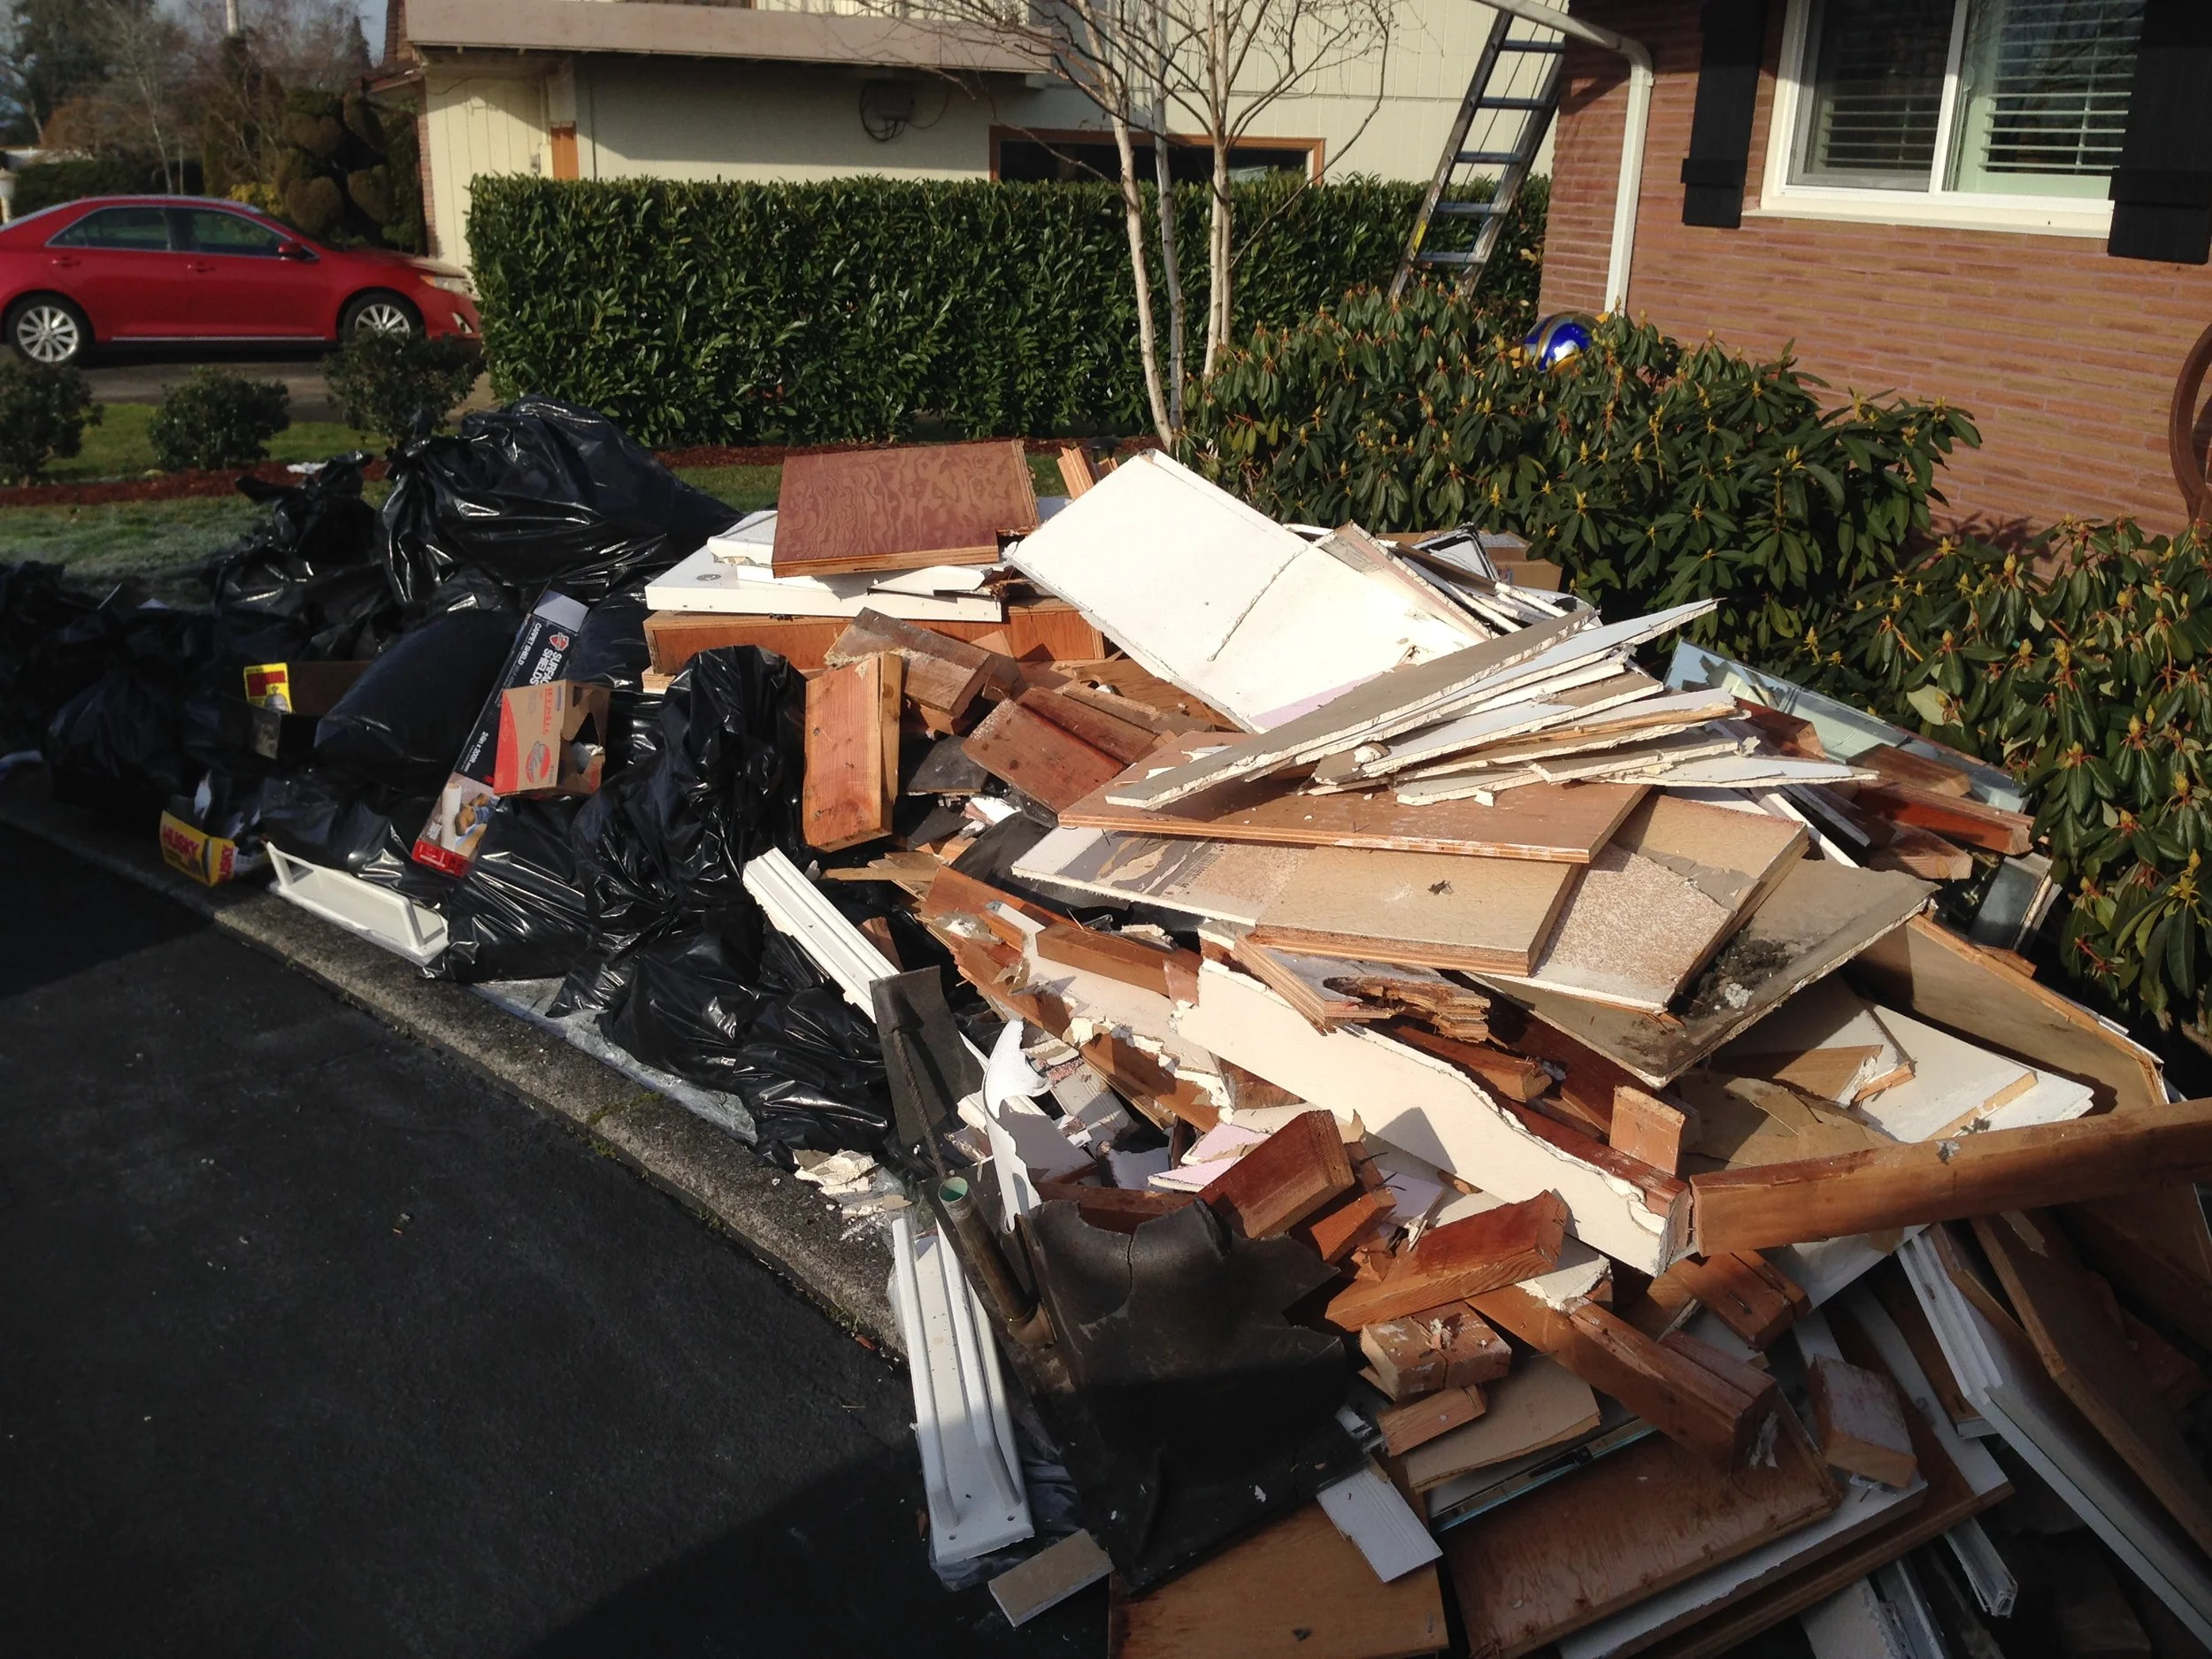
I single handily demolished and removed nearly three tons of debris on this project. All materials were then tested for asbestos, separated for recycling, and the rest I delivered to the local landfill.
This full wall in the guest shower was converted into a pony wall to allow even more light into the space.
The tile phase of the project has begun, my favorite part!
Once prep is complete, and pan flood tests have passed, tile begins.
Each tile project is unique to my customer’s personalized needs and aesthetic taste.
Durable water resistant floating floors and pre-fab cabinets are then installed in both bathrooms.
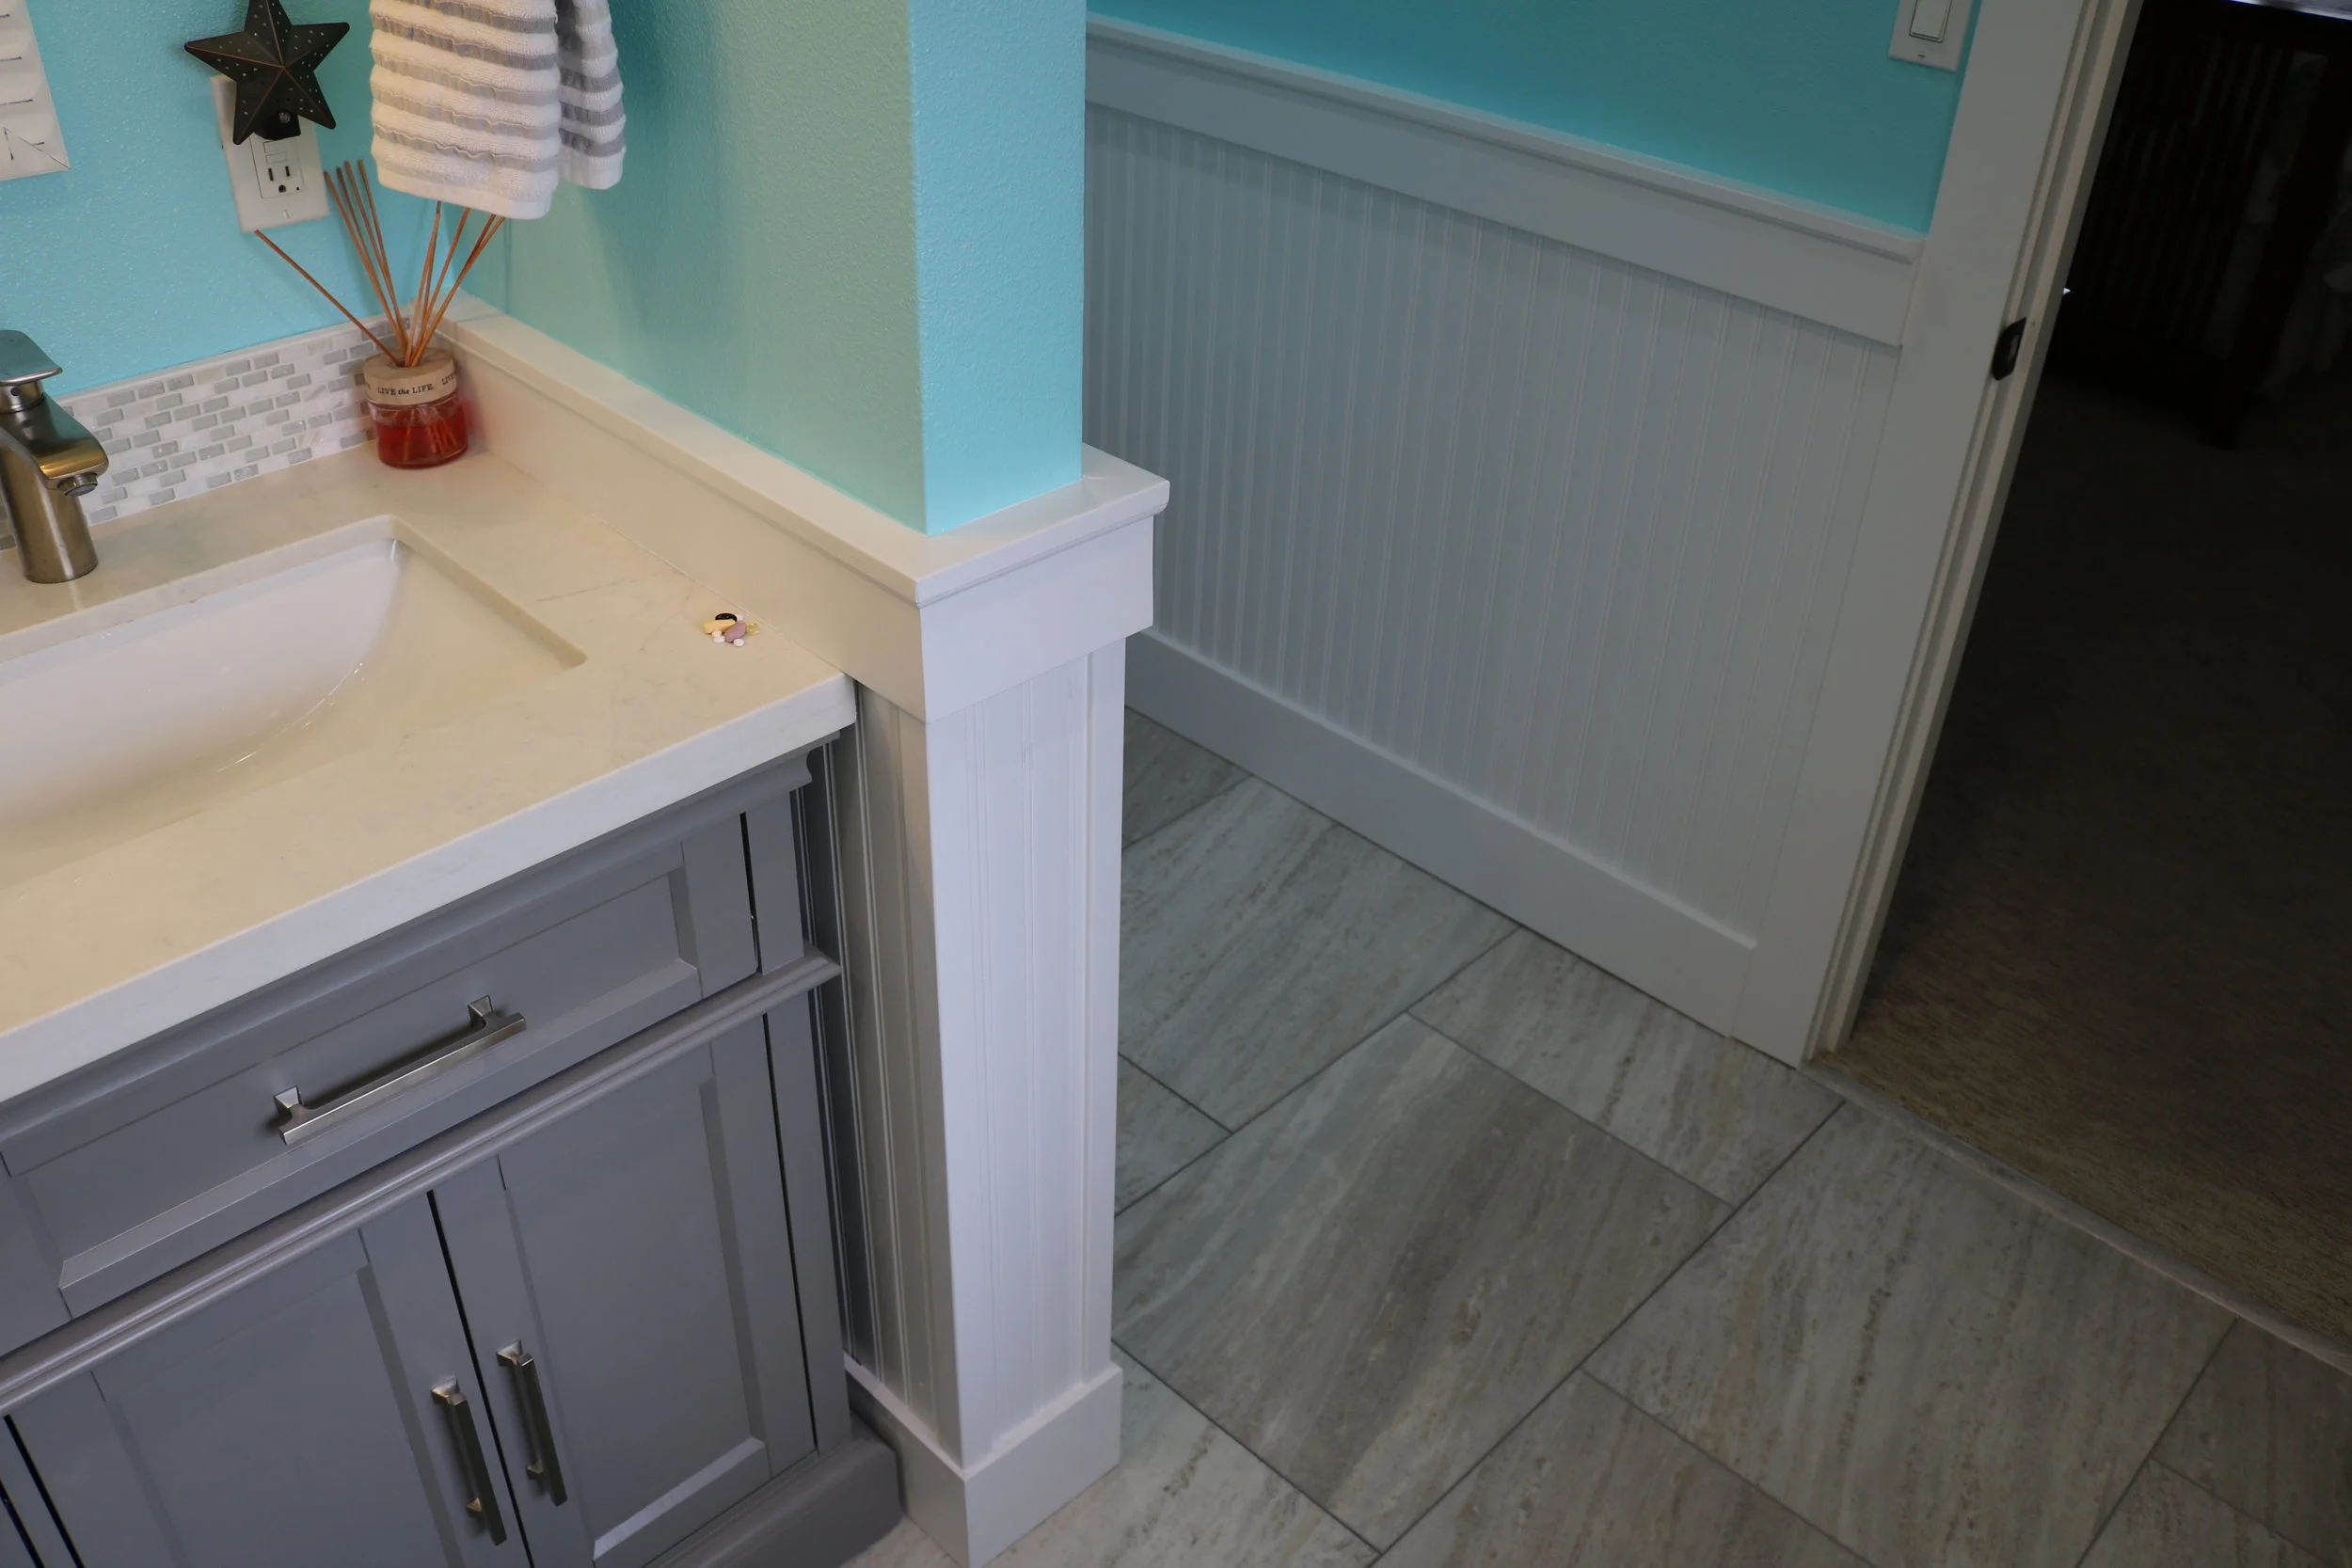
Next, I designed and installed the custom wood wainscoting in both bathrooms, which gave them an elegant sophisticated look. All finger jointed milled and primed pine, you never want to use MDF trim in bathrooms due to moisture.
Painting begins in both rooms. All walls, ceilings, and trim.
The finished guest bathroom! Significantly brighter and an overall pleasant space.
Guest bathroom shower
Guest bathroom cabinet and finishes
The master en suite bathroom is unrecognizable from before!
Bright colors and clean lines create a vibrant and relaxing spa-like atmosphere.
This is where the original master shower was.
Master bathroom details
Master bathroom
Beach-themed master bathroom
The master bathroom shower floor, designed and built to last for decades.
I hope you enjoyed seeing this total bathroom transformation from start to finish. Thanks for viewing!
If you have any questions about your own project, I can be reached on the contact page of my website.